Getting Started
Download, install, and make your first translation edit in under 10 minutes.
Last updated
StringLane opens your localization folder and gives you a live side-by-side view of every language. Changes write directly to your source files: no import, no export, no round trips.
This tutorial takes you from a fresh install to your first committed translation in about 10 minutes.
Step 1: Download and install#
Get the build for your platform from stringlane.app/download. StringLane runs on macOS, Windows and Linux.
macOS#
Download the .dmg — Apple Silicon for M1 and later, Intel for x86_64. Requires macOS 13 Ventura or later. Open the disk image, drag StringLane to your Applications folder, and launch it.
The build is signed with a Developer ID certificate and notarised by Apple, so it opens without a Gatekeeper warning.
Windows#
Download the x64 installer (StringLane-Setup-x64.exe) and run it. Windows 10 or 11.
The installer is not code-signed yet, so SmartScreen will warn about an unknown publisher on first run. Click More info → Run anyway.
Linux#
Two options:
chmod +x StringLane-x86_64.AppImage && ./StringLane-x86_64.AppImageThe AppImage runs on any distro and self-updates in place — it is the recommended option, and on Arch or Manjaro it is the only one, as there is no pacman package. The .deb suits Debian, Ubuntu and Pop!_OS, but does not auto-update: reinstall to upgrade.
Every artifact is listed with a checksum in SHA256SUMS if you want to verify the download.
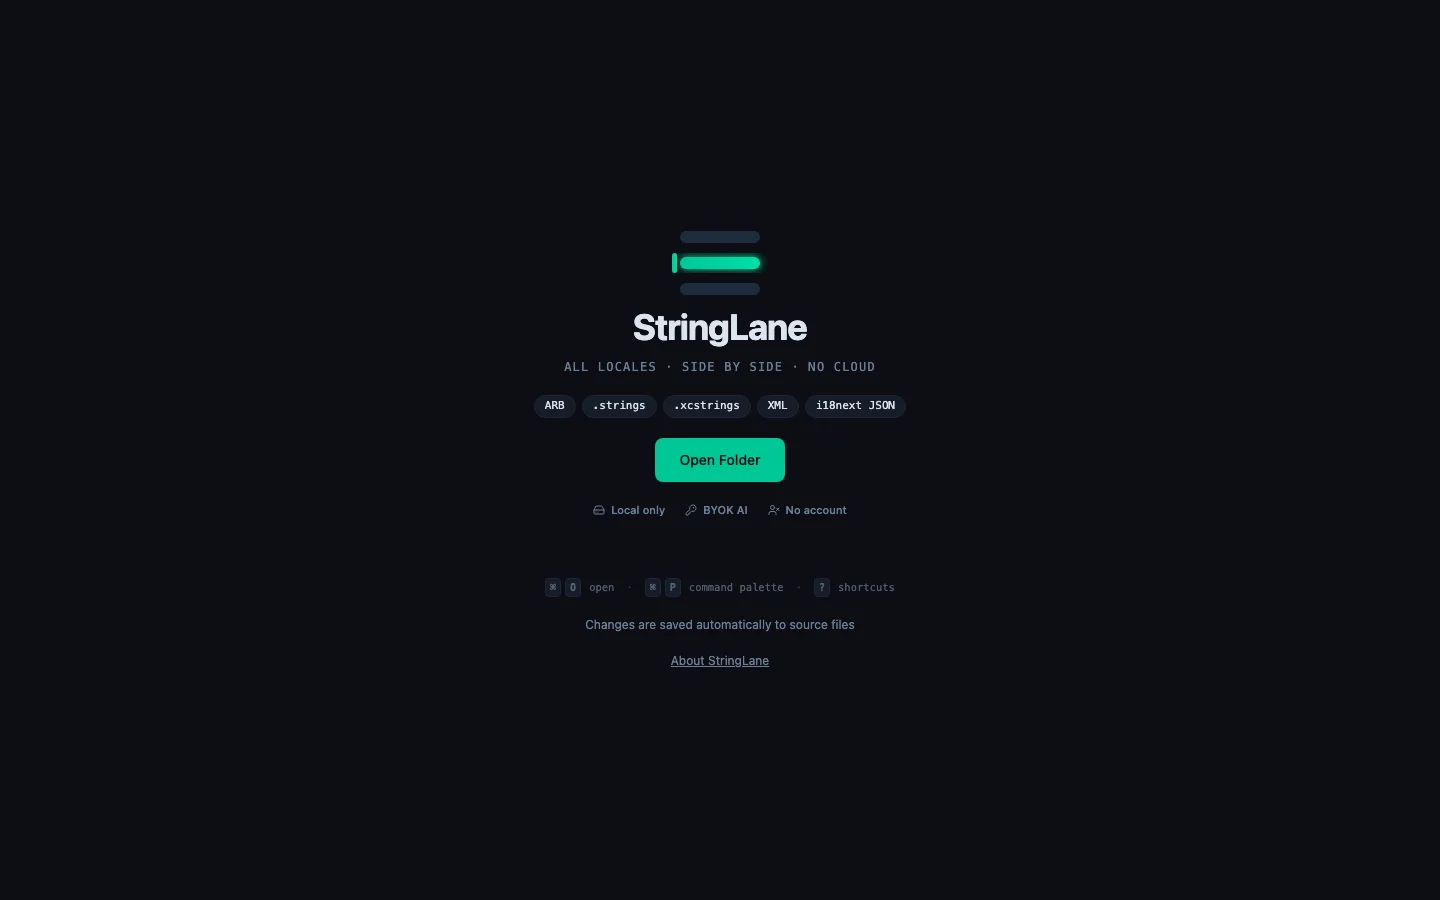
The Welcome screen shows the formats StringLane supports, ARB · .strings · .xcstrings · Android XML · i18next JSON, along with the core guarantees: Local only · BYOK AI · No account.
Step 2: Open your localization folder#
StringLane works directly with your project's localization files. You don't need to move anything.
Three ways to open a project:
- Drag your folder onto the StringLane window: drop any folder that contains ARB,
.strings, Android XML, i18next JSON, or xcstrings. - ⌘O (File → Open Folder): navigate to your project root or its localization subdirectory.
- ⌘P → Open folder…: via the command palette.
StringLane scans the folder recursively and loads all locale files it finds. The project name (derived from the folder name) appears in the sidebar header.
Step 3: Tour the interface#
Once a project loads, you land in the unified editor: a key sidebar on the left + per-key detail pane on the right.
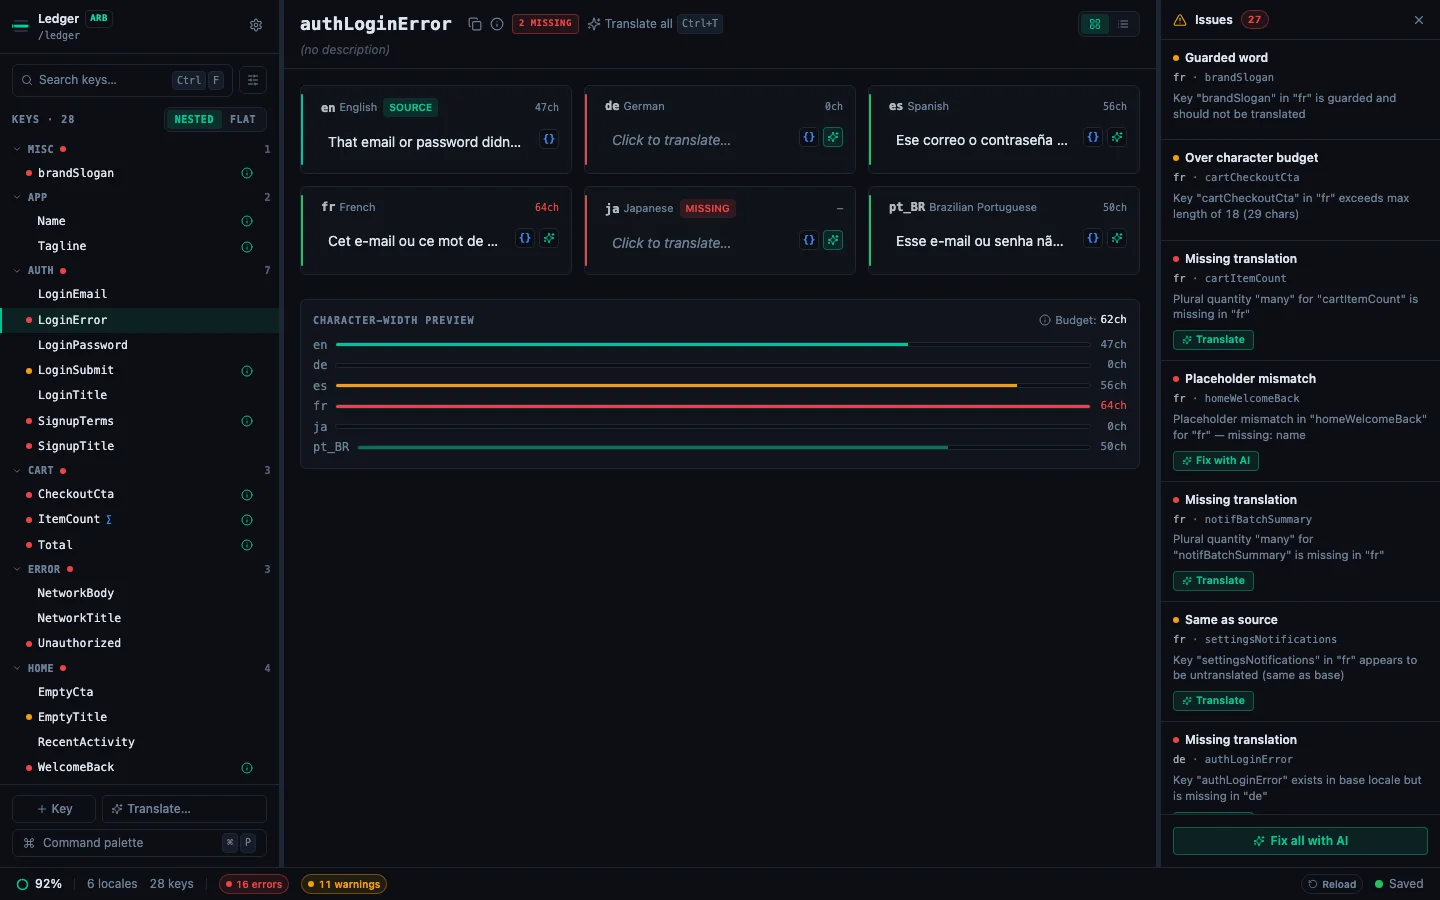
- Sidebar (280px, left): every key in your project, grouped by namespace (the segment before
.or_). Search, filter by locale or Issues-only, and a ⌘P Command Palette launcher at the bottom. - Detail pane: the key name + chips + Grid/List toggle; below, every locale side-by-side with its value, AI translate button, and validation rail.
- Issues panel (right rail or bottom drawer, your choice), auto-opens when the project has any validation issues. Each row jumps you to the offending cell.
- Status bar (bottom): completion ring, error / warning chips, save indicator with "Saved · Ns ago" recency.
Step 4: Edit a translation#
Click any locale's value in the detail pane to edit it inline. Type your translation, then press:
- Enter: confirm and move to the next locale
- Tab: confirm and move to the next locale
- Escape: cancel and restore the original value
- ⌘Z: undo changes in the current cell
The edit is saved automatically the moment you leave the cell: no Save button, no confirmation dialog. StringLane writes directly to the source file on disk; the status bar shows "Saved · just now".
Step 5: Verify auto-save#
After editing, open your localization file in any text editor (VS Code, Xcode, etc.). The change is already there. StringLane never buffers: every confirmed edit lands in the file immediately.
If you run flutter gen-l10n or rebuild your app right now, the new translation is live.
Step 6: Speed up with the command palette#
Press ⌘P to open the command palette: one searchable menu for every action in the app. Type to fuzzy-search actions and keys across the project.
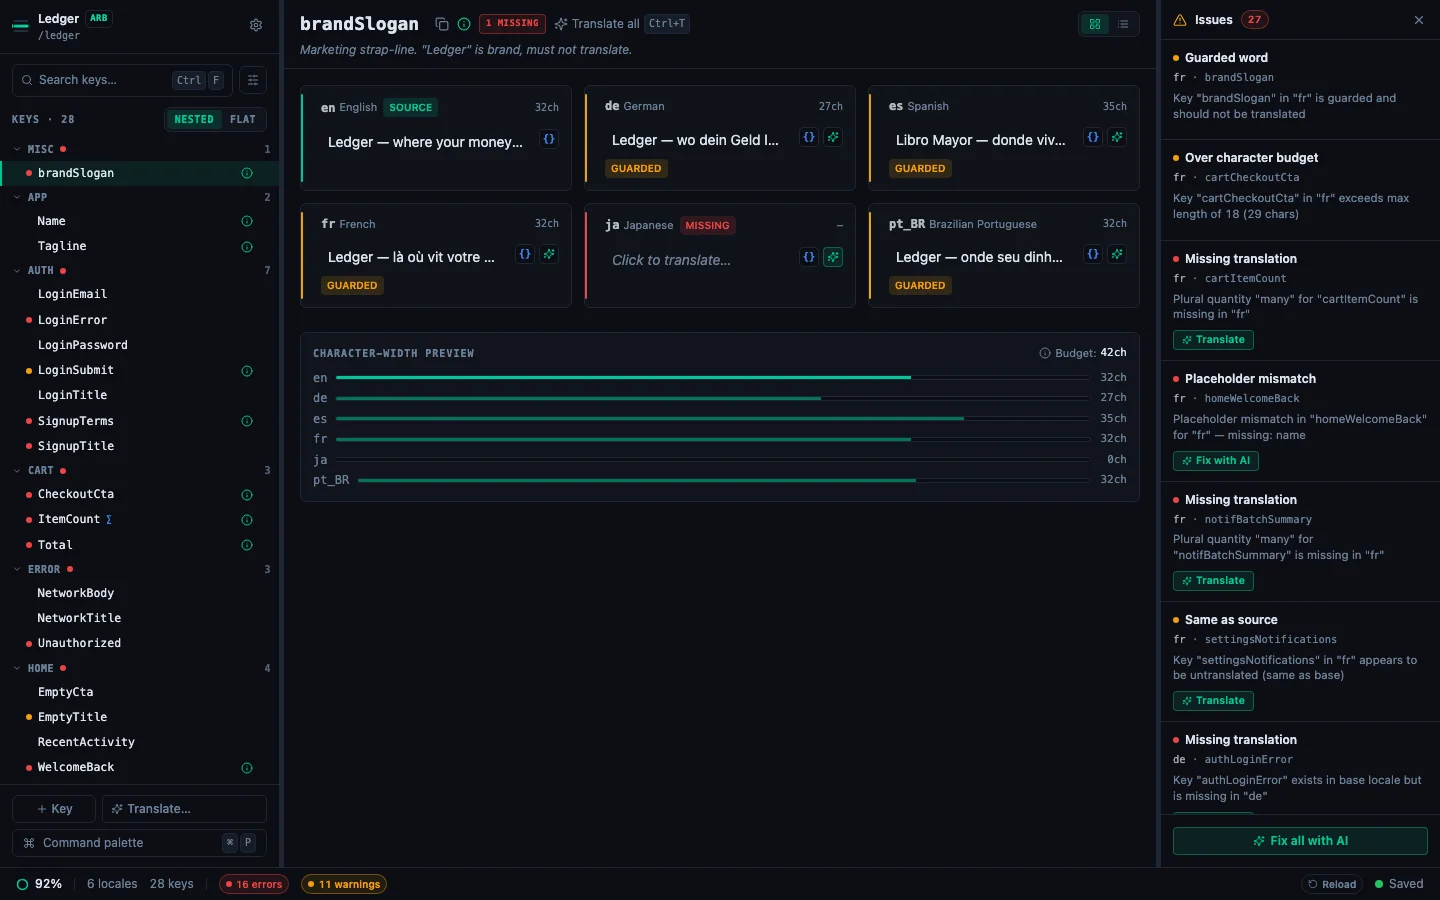
The palette is the fastest path to:
- Add key…: create a new translation key
- Translate all missing with AI: one-shot fill every gap across every locale
- Jump to key: type a key name or value fragment to teleport
- Toggle Issues panel, theme switch, open Settings
What's next#
- Use the List View editor: the unified sidebar + detail-pane surface you just saw, in depth.
- Set Up AI Translation in 5 Minutes: let the model fill in missing translations.
- Translate all missing: the batch flow when you have gaps across multiple locales.
- How to Add a New Locale: add a language by its BCP 47 code.
- How to Read Validation Badges: understand the rail colors and loud pills.
- Customize keybindings: rebind any in-app shortcut.
- How to Turn Off Usage Analytics: what StringLane sends, and the toggle that stops it.
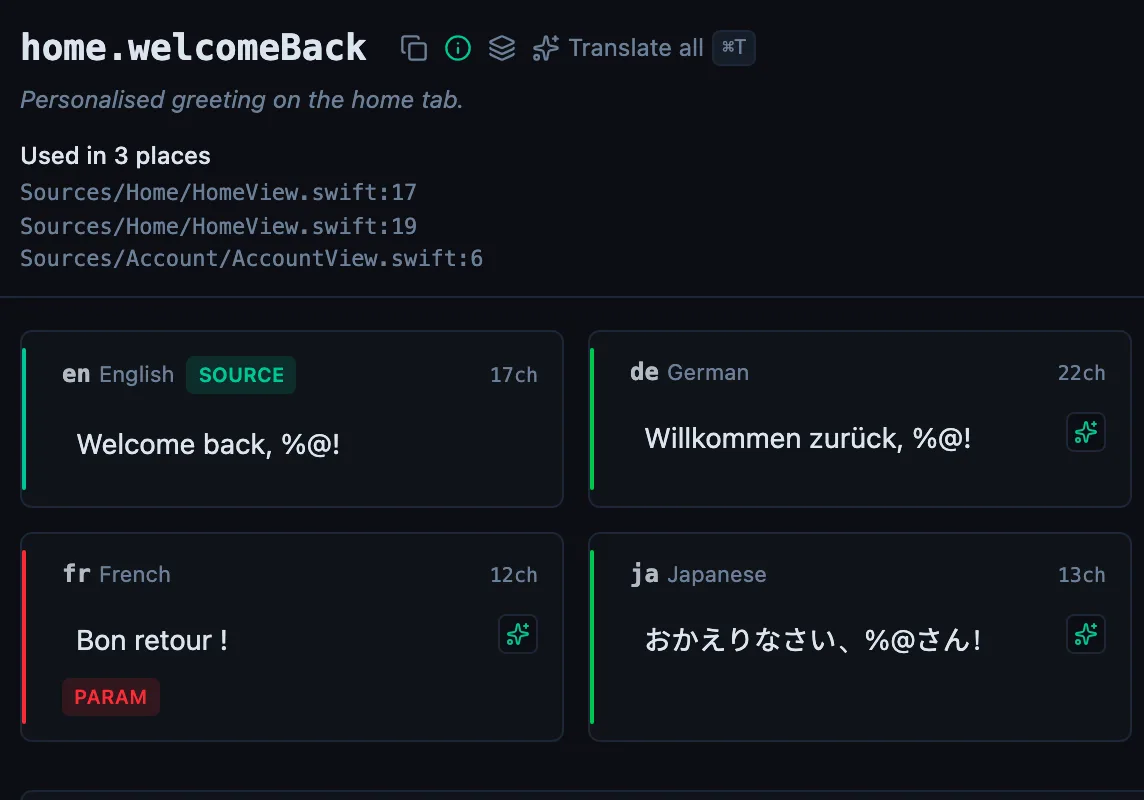
See every locale side by side
The desktop app flags what is missing or broken on the cell, and saves to your files.
14-day trial, no email